How to apply kWIKproof
Water-proofing Systems
Cementitious waterproofing for walls and floors exposed to moisture
A cement-based waterproofing application that forms a continuous barrier beneath tiles, protecting substrates from water ingress and long-term moisture damage.
What Is Cementitious Waterproofing?
Cementitious waterproofing is a cement-based system designed to stop water from penetrating walls and floors. It forms a continuous, water-resistant layer that protects the structure beneath the final surface covering.
Unlike surface finishes, cementitious waterproofing works below the finish. It remains bonded to the substrate and resists water pressure, moisture, and normal movement, helping to prevent long-term water damage.
Do I Need Waterproofing?
Waterproofing is required wherever water exposure could damage the structure or substrate over time.
Waterproofing is typically required in:
- Showers and bathrooms
- Wet rooms and laundries
- Balconies and terraces
- External walls, parapets, and planters
- Any area exposed to regular water, moisture, or damp conditions
Surfaces must be firm and stable with no movement. Waterproofing protects against water ingress but cannot compensate for loose substrates or structural defects.
If an area will be exposed to water, waterproofing removes the risk.
What Can Be Applied Over KWIKproof?
Once fully cured, KWIKproof provides a suitable waterproof base for compatible wall and floor surface coverings, including:
Always ensure the waterproofing has fully cured before applying the final surface covering
What Is KWIKproof?
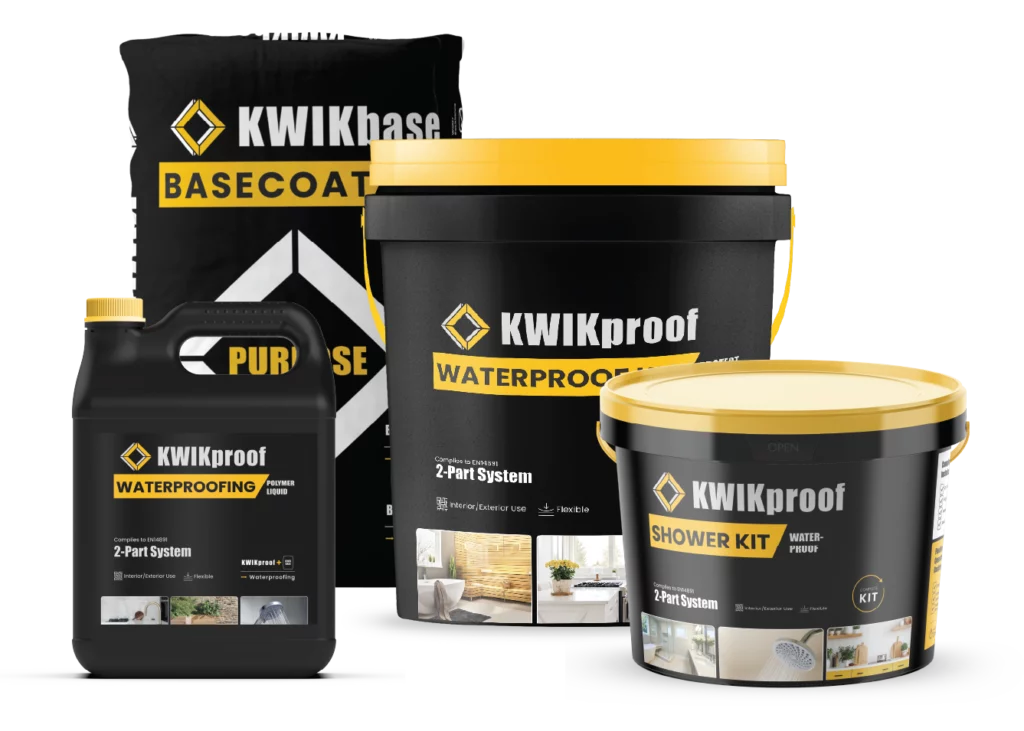
KWIKproof is a 2-part cementitious waterproofing system.
It works by mixing:
KWIKbase (powder) with KWIKproof polymer liquid.
- Complies with EN 14891
- Resists water pressure up to 4.5 bar
Together, they form a flexible waterproof membrane suitable for interior and exterior use.
Application Proccess
The following requirements apply to all KWIKGrout installations and must be followed for correct performance.
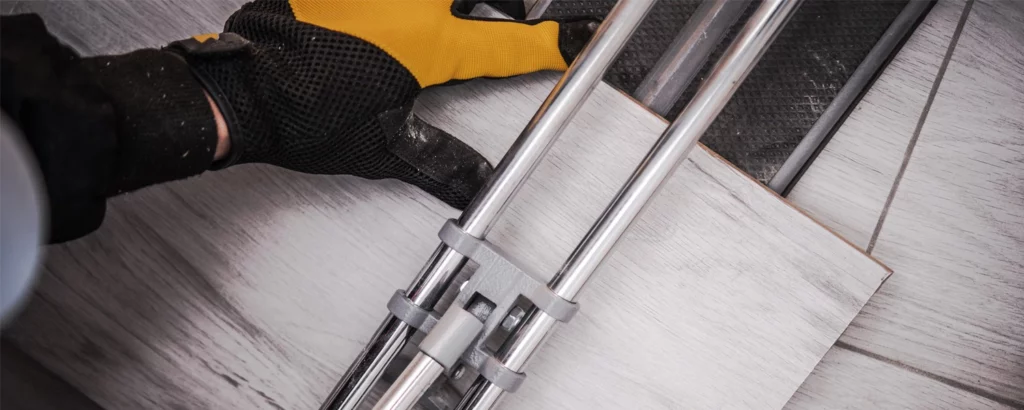
Tools
Ensure you have all your tools ready before opening the kit.
Mixing Bucket
Drill with mixing paddle
Block brush
Scissors or utility knife
Materials
- KWIKproof polymer liquid
- KWIKbase powder
- Reinforcing membrane (included in kits)
Safety
- Gloves
- Safety glasses
- Dust mask
Waterproofing products contain cement. Avoid skin and eye contact.
STEP 1
Prepare the Surface
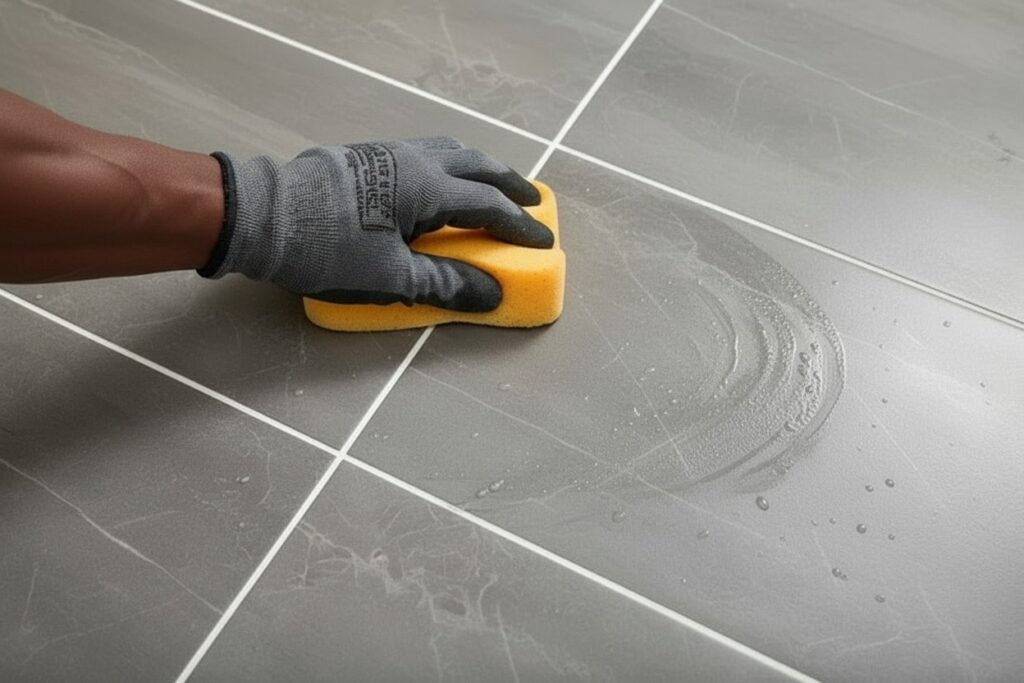
Good preparation is essential for waterproofing performance.
- Surface must be clean, dry, and sound
- Remove dust, grease, paint, or loose material
- Repair cracks or damaged areas before waterproofing
Do not apply to loose, unstable, or moving surfaces.
STEP 2
Mix the Waterproofing
Correct mixing ensures flexibility and strength.
- Pour KWIKproof liquid into a clean bucket
- Add KWIKbase powder to the liquid
- Mix using a drill and mixing paddle until smooth and lump-free
- Let the mix stand for 2–3 minutes
- Re-mix briefly and start applying
Do not add water.
Do not mix with any other liquids.
STEP 4
Apply the First Coat
- Apply using a block brush
- Work the product firmly into the surface
- Apply an even coat 1–2 mm thick over the entire area
While the first coat is still wet:
- Embed reinforcing membrane into all corners, joints, and changes of direction
- Wrap membrane around all fixtures and fittings (drains, outlets, pipes)
- Apply waterproofing over the membrane to fully cover and seal it This creates a continuous, watertight seal at all critical points.
STEP 5
Apply the second Coat
- Allow the first coat to dry for approximately 6 hours
- Apply the second coat perpendicular to the first
- Apply evenly at 1–2 mm thick
- Ensure full coverage of the entire waterproofed area
Two coats are required for effective waterproofing
STEP 6
Let It Cure
- Allow waterproofing to cure for 24 hours before applying finishes
- Protect the area from water during curing
Applying finishes too early can damage the waterproofing layer.
Common Waterproofing Mistakes to Avoid
Small mistakes can cause leaks later.
Adding water to the mix
- Reduces waterproofing performance
Skipping membrane at corners or fittings
Creates weak points
Applying coats too thin
Can lead to failure
Not allowing time between coats
Traps moisture
Applying finishes before full curing
Damages the membrane
Pro Tips for Best Results
- Always use the full 2-part system
- Apply two coats at the correct thickness
- Reinforce all corners, joints, and fittings
- Follow drying and curing times carefully