HOW TO APPLY
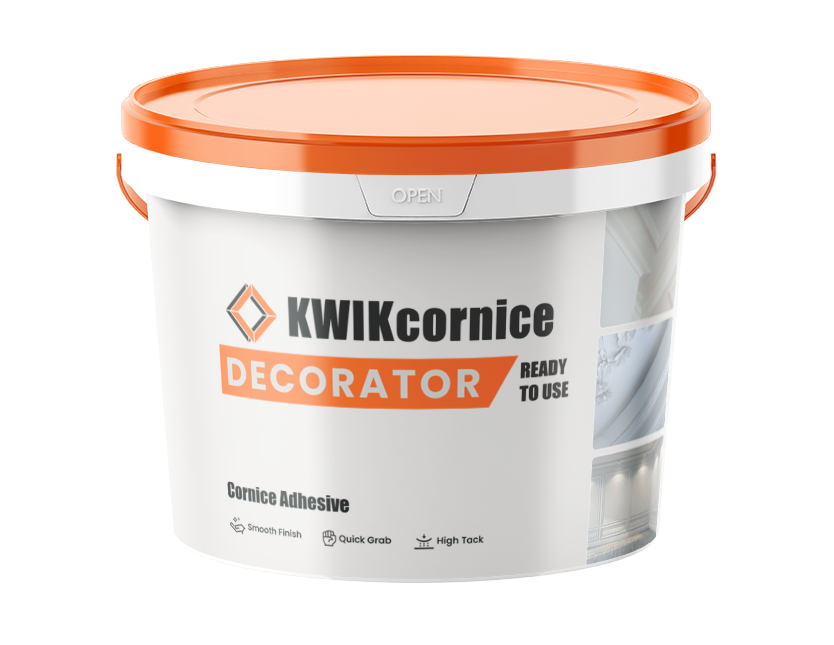
KWIKcornice
Ready-to-use adhesive for decorative cornices and mouldings
- Ready to use
- Quick grab
- Smooth finish
- 1 to 2 hour correction time
KWIKcornice is a high-strength, ready-to-use paste adhesive designed for fixing decorative cornices to walls and ceilings. It offers quick grab, smooth application, and enough correction time to position cornices accurately before final set.
ESSENTIAL APPLICATION REQUIREMENTS
The following requirements apply to all KWIKcornice installations and must be followed for correct performance.
Installation Conditions
- Do not apply below 5°C
- Do not apply to wet or excessively damp surfaces
- Protect adhesive from freezing
- At least one bonding surface must be porous to allow moisture evaporation
- Follow the cornice manufacturer’s installation guidelines
- Large or heavy cornices may require temporary or permanent mechanical support
Incorrect surface preparation, damp surfaces, or lack of support on heavy cornices can lead to poor bonding or movement during setting.
Suitable Substrates
- Plaster surfaces
- Cementitious substrates
- Painted surfaces, properly prepared
- Concrete walls and ceilings
Surfaces must be dry, clean, firm, and free from dust, grease, loose plaster, flaking paint, wallpaper, and other contaminants. Smooth or painted surfaces must be roughened by sanding or cross-scratching to create a mechanical key.
Application Proccess
Follow the steps below to ensure clean, secure bonding when using KWIKcornice adhesive.
STEP 1
Prepare the Surface
Proper surface preparation is essential for strong adhesion and a neat finish.
Before application, ensure the surface:
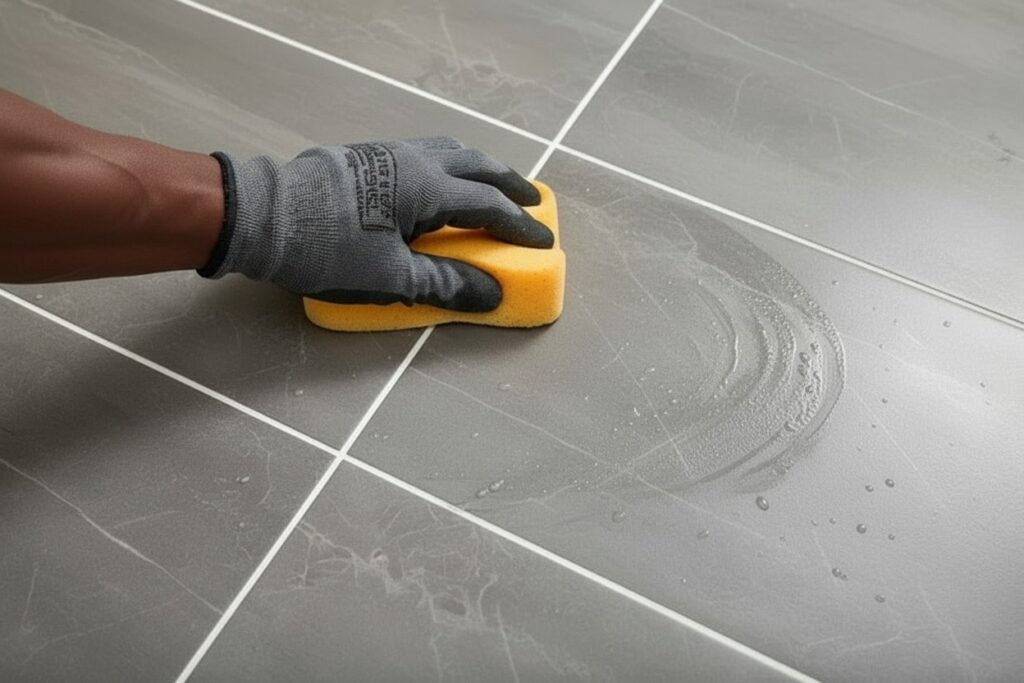
Good prep makes all the difference.
- Is dry, clean, firm, and stable
- Is free from dust, grease, and contaminants
- Has no loose plaster, flaking paint, or wallpaper
- Has been sanded or cross-scratched if smooth or painted
- Is dust-free after sanding or preparation
Do not apply KWIKcornice to wet, damp, dusty, loose, or unstable surfaces.
STEP 2
Prepare the Adhesive
KWIKcornice is ready to use and does not require mixing with water or other additives.
Good prep makes all the difference.
- Open the bucket and stir the adhesive well before use
- Use a flat spatula, pallet knife, or suitable applicator
- Do not dilute the adhesive
- Keep the container closed when not in use
Ready-to-use adhesive helps reduce preparation time and supports cleaner installation.
STEP 3
Apply Adhesive to the Cornice
Apply adhesive evenly to the cornice contact areas before positioning.
This step is key to strong, neat joints.
- Apply adhesive along the top and bottom contact edges
- Ensure a continuous bead or layer for full contact
- Apply enough adhesive to fill minor unevenness between the cornice and surface
- Avoid gaps in the adhesive line
- Apply adhesive to joint ends where cornice lengths meet
For best results, do not rely on spot fixing. Full contact along the bonding edges is required.
STEP 4
Position the Cornice
Correct positioning ensures a neat line and secure bond.
Clean gently and at the right time.
- Press the cornice firmly into position
- Ensure full surface contact with the wall and ceiling
- Adjust alignment while the adhesive is still workable
- Use the 1 to 2 hour correction time for accurate positioning
- Remove excess adhesive immediately
KWIKcornice offers good initial grab, but positioning should still be checked before the adhesive sets.
STEP 5
Support Large or Heavy Cornices
Large or heavy cornices may need mechanical support while the adhesive sets.
- Use temporary support such as galvanised nails where needed
- Heavy plaster cornices may require screws at approximately 1 m intervals
- Do not remove support until the adhesive has set sufficiently
- Check that the cornice remains aligned during setting
Mechanical support helps prevent movement, sagging, or slip on heavier profiles.
STEP 6
Joint, Fill, and Clean
Finish joints and clean the surface before the adhesive sets.
- Apply adhesive to joint ends to bond successive lengths
- Use excess adhesive to fill visible gaps
- Smooth the joint and edges for a neat finish
- Wipe away residue with a damp cloth before setting
- Allow the adhesive to cure before sanding or overcoating
Once cured, KWIKcornice can be overcoated and finished as required.
KWIKCORNICE
Curing and Finishing
KWIKcornice must be allowed to set and cure before final finishing.
Curing Guidelines
- Full cure: approximately 24 hours
- Allow adhesive to cure before sanding or painting
- Protect the installation from movement during setting
- Allow longer curing in cool or humid conditions
Additional Notes
- Smooth finish can be sanded once cured
- Can be painted or overcoated after curing
- Keep the area dry during setting
- Do not disturb cornices while the adhesive is setting
Common Mistakes to Avoid
KWIKcornice must be allowed to set and cure before final finishing.
- Applying to dusty, damp, or unstable surfaces
- Skipping sanding on smooth or painted surfaces
- Using too little adhesive on contact edges
- Relying on spot fixing
- Not supporting large or heavy cornices
- Leaving excess adhesive to harden on visible surfaces
- Painting or sanding before full cure
Pro Tips for Best Results
- Dry fit cornices before applying adhesive
- Mark guide lines before installation
- Apply adhesive evenly to both contact edges
- Use support for long, large, or heavy sections
- Clean excess adhesive immediately
- Allow full curing before finishing or painting