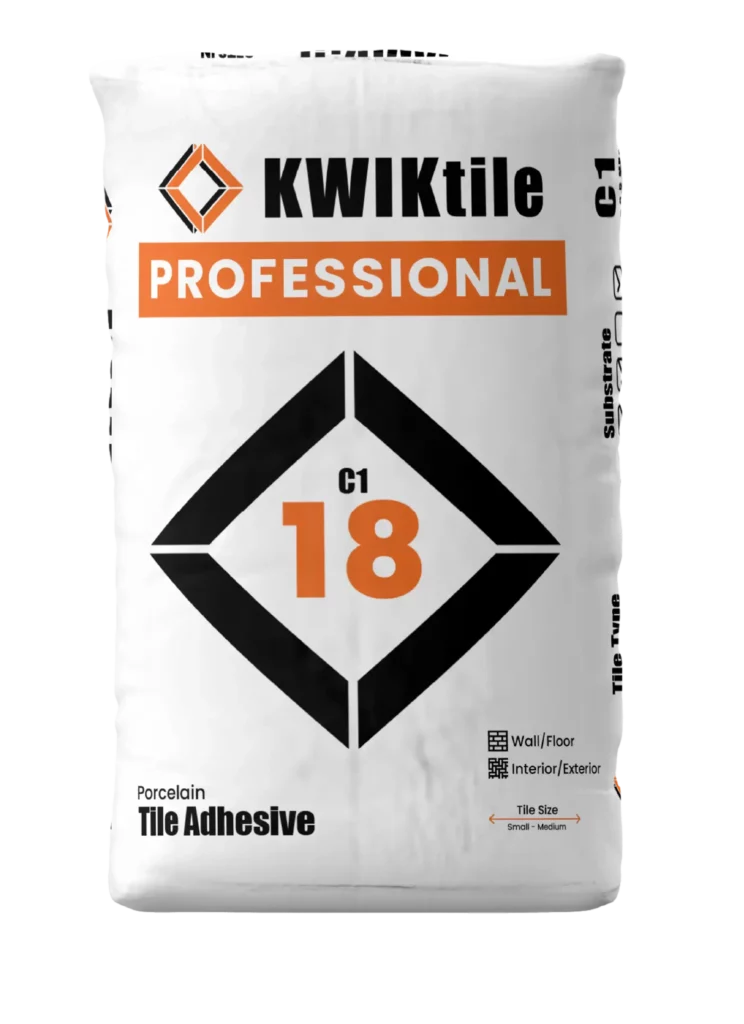
How to apply
Porcelain Tile Adhesive
How to correctly apply KWIKtile 18 for wall and floor tile installations. This guide covers essential application requirements and links to detailed surface preparation and technical resources where needed. This product is ideal for small to medium porcelain tiles and and medium to large ceramic tiles.
ESSENTIAL APPLICATION REQUIREMENTS
Suitable Substrates
Installation Conditions
- Substrates must be sound, clean, and properly prepared.
- Surfaces requiring priming must be correctly primed using Kwik-Key or a Kwik-Key Slurry, depending on substrate porosity and condition.
- A slurry coat is mandatory for certain applications, like tile-on-tile installations.
- Use the appropriate KwikTile adhesive for the tile type and application.
- Ensure the correct tools and equipment are used.
- Large-format tiles must be back-buttered.
Priming Requirements
- Porous surfaces: Kwik-Key diluted 1:1 (or neat on very porous surfaces)
- Dense, sealed or painted surfaces: Kwik-Key Slurry mandatory
Coverage (20KG Bag)
(Coverage depends on trowel size, conditions & application.)
- Walls: ±4–6 m²
- Floors & Large Format Tiles: ± 1.5–4 m²
Recommended Trowel Size
- 6–8 mm → Ceramic wall tiles, light-weight porcelain wall tiles, mosaic tiles, bathroom & kitchen wall areas
- 8–20 mm → Flooring & large format tile applications. (View guide for specifics)
Grouting Time
Grouting may commence after the recommended waiting period once tiling is complete, subject to site conditions.
- 16–18 hours
Application Proccess
STEP 1
Surface Prep
Proper surface preparation is the foundation of a long-lasting tile installation.
The Critical Step that most neglect
Correct surface preparation is critical to the performance of every KWIKtile product.
Before application, ensure the surface is:
- Clean and free of dust, dirt, grease, paint and loose material
- Sound, stable and free from movement
- Dry unless the installation method specifies otherwise
- Flat and suitable for the intended application
Different surfaces require different preparation methods. Tiling onto concrete, existing tiles, plaster, fibre cement, painted surfaces and other substrates each have their own requirements.
Find the Correct Preparation Method
Most tile installation failures occur because the surface was not prepared correctly.
Before you begin, visit our Surface Preparation Hub to view the correct preparation method for your specific substrate.
STEP 2
Priming & Slurry
Correct priming ensures proper adhesion and prevents premature failure.
Priming
Kwik-Key primer is used on porous surfaces to regulate absorption.
Kwik-Key Slurry is required to create a mechanical bond on dense or sealed surfaces.
Slurry
Slurry is mandatory when tiling on to:
- Existing tiles (tile-on-tile)
- Painted or sealed surfaces
- Dense, smooth, or polished substrates
- Vinyl, terrazzo, or similar non-porous surfaces
STEP 3
Mixing
Proper surface preparation is the foundation of a long-lasting tile installation.
Mix Porcelain Tile Adhesive to a smooth, workable consistency
Mixing Method
- Add approx. 5.5L of cool clean water first, then your 20kg adhesive powder
- Mix for 2–3 minutes until smooth using a drill and a mixing paddle.
- Allow to rest for 2–3 minutes, then remix
- Pot life: ±60 minutes
- Do not add water after mixing
STEP 4
Movement Joints
Movement joints accommodate structural movement and thermal expansion and are essential to prevent cracking.
Porcelain Tile Adhesive movement joints
Movement joints accommodate structural movement and thermal expansion and are essential to prevent cracking.
Requirements
- Perimeter joints: 3–5 m around edges
- Internal joints: every 5 m (interior installations)
- Exterior installations: every 3m
- Structural joints must carry through the tiled surface and must never be filled with adhesive or grout
STEP 5
Applying Tiles
Movement joints accommodate structural movement and thermal expansion and are essential to prevent cracking.
Porcelain Tile Adhesive, tile application
Apply tiles using correct technique to achieve the required adhesive coverage.
Key Principles
- Plan your layout for a professional finish.
- Spread the adhesive with a notched trowel to a minimum bed thickness of 3mm for walls & 5mm for floors (Apply in one direction, do not swirl, this will create air pockets).
- Only spread as much adhesive adhesive as you can use in 10 -15min.
- Press tiles firmly and slide slightly to collapse ridges
- Back-butter porcelain and large-format tiles
- Lift tiles periodically to check for full coverage
- Clean as you go and ensure joints are clear before the adhesive sets
Setting, Grouting & Curing
Curing Guidelines
- Avoid disturbing tiles during the curing period.
- Protect freshly tiled areas from moisture, vibration, and movement.
- 7 days of curing for normal sevice conditions
- fully cured after 28 days
Additional notes
- Cooler temperatures may extend curing times
- High temperatures will accelerate setting time
- High humidity can slow down adhesive set
- Always follow recommended application practices
Grouting Time
- Grouting may commence approximately 16–18 hours after tiling is complete, subject to site conditions
Grouting before the adhesive has cured sufficiently may result in:
- Cracked or weakened grout joints
- Tile movement or lippage
- Reduced adhesive bond strength
Always allow adequate curing time before grouting to ensure a durable installation.
Light Foot Traffic
- Light traffic may be permitted after initial set, provided tiles are stable and undisturbed
- Avoid concentrated loads, rolling equipment, or impact during early curing