How to apply
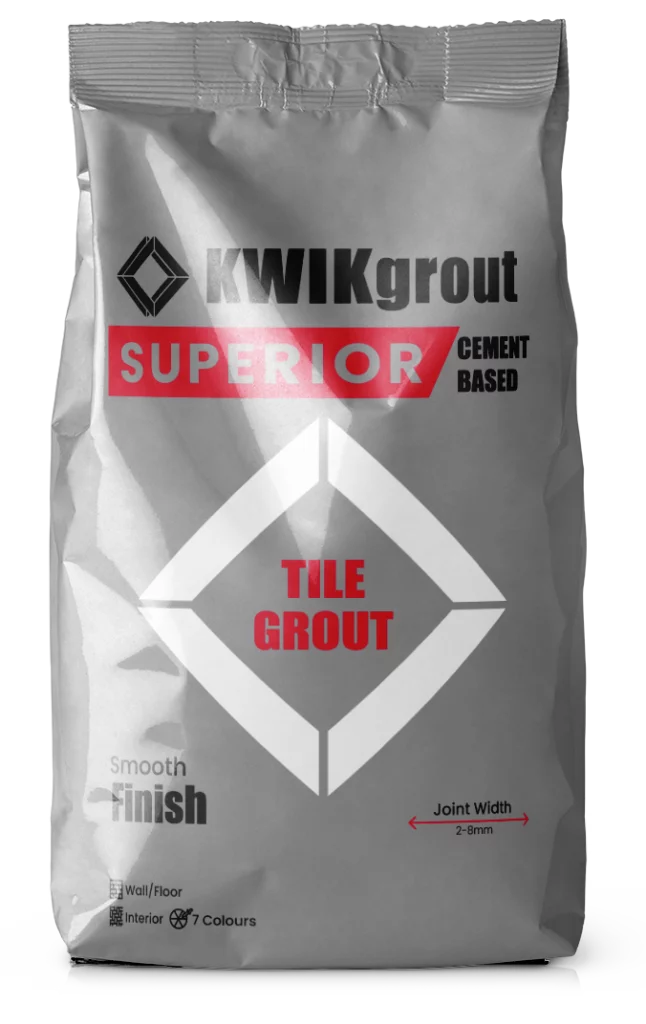
Cement-Based Tile Grout
- Joint Width 2-8mm
- Pot Life: 60min
- Various Colours
How to correctly apply KWIKgrout for durable, long lasting tile joints. This guide outlines essential grouting techniques and practical tips to help you achieve a professional finish every time. Available in 7 contemporary colours to match a wide range of tile styles: Light Grey, Dove Grey, Charcoal, White, Ivory, Light Brown, and Dark Brown.
ESSENTIAL APPLICATION REQUIREMENTS
Installation Conditions
- Substrates must be sound, clean, rigid, and properly prepared.
- Ensure tile adhesive is fully cured before grouting.
- Mix only small batches that can be applied within the working time.
- Always follow the correct water-to-powder mixing ratio.
- Do not retemper grout that has begun to set.
- Apply using a rubber grout float held at a 45° angle, pressing firmly to pack joints completely and improve water resistance.
- Clean off excess grout with a damp sponge before it begins to harden.
- Protect from water, frost, and traffic during initial curing.
Tip: Work diagonally across joints to avoid pulling grout from freshly filled lines..
Substitute Water for KWIKbond
- Improve water resistance
- Enhance colour stability
- Reduce efflorescence and cracking
- Increase overall durability in wet or high-traffic zones
Coverage (20KG Bag)
(Coverage depends on trowel size, conditions & application.)
- Joint width: 2–5 mm
100 × 100 mm tiles: ±2 m²
- Joint width: 2–5 mm
300 × 300 mm tiles: ±6–8 m²
- Joint width: 2–5 mm
500 × 500 mm tiles: ±10–12 m²
- Joint width: 2–5 mm
600 × 600 mm tiles: ±12–14 m²
Grouting Time
Grouting may commence after the recommended waiting period once tiling is complete, subject to site conditions.
Grout Application Process
STEP 1
Set
Wait for Tile Adhesive to Set (Essential)
- Ensure tiles have been fixed and the adhesive has fully cured before beginning grouting.
- As a general rule, grouting may commence after ±6 hours when using KWIKtile 6.
- Always follow adhesive manufacturer’s guidelines.
STEP 2
Clean Joints
Cleaning
Remove excess adhesive, spacers, and debris from joints.
Ensure joints are clean, dry, and free of loose material or dust before applying grout.
STEP 3
Mix
Mix the KWIKGrout
- Pour clean water or KWIKbond (for enhanced performance) into a clean mixing bucket.
- Slowly add the powder while mixing to avoid clumping.
- Mix to a smooth, lump-free paste using a mixing paddle.
- Let the mix stand for ±2 minutes, then remix briefly before application.
- Do not overwater. Only mix quantities that can be used within the working time.
STEP 4
Apply
Apply the KWIKGrout
- Use a rubber grout float to press the grout diagonally across the joints at a 45° angle.
- Ensure joints are fully filled and compacted.
- Remove excess grout from the tile surface as you go to reduce cleaning later.
STEP 5
Cleaning
KWIKGrout, initial cleaning
- After ±10–15 minutes (or when the grout has begun to firm up), clean the tile surface with a damp sponge using circular motions.
- Rinse the sponge frequently with clean water.
- Avoid disturbing the joints during this stage.
STEP 6
Final Buff
- Once the grout has dried to a haze (±1–2 hours later), buff off any residue with a clean, dry cloth
STEP 7
Protect
- Protect freshly grouted areas from water, traffic, frost, or dirt for at least 24 hours.
- Allow full cure before exposing to heavy use or wet conditions.
Curing and Cleaning
KWIKgrout is a high-performance, polymer-modified grout. Proper curing ensures long-term durability, stain resistance, and consistent colour.
Curing Guidelines
To achieve optimal grout performance:
- Avoid traffic and water exposure for at least 24 hours after grouting.
- Protect the area from wind, sun, frost, excessive heat, or direct water during the first day.
- Do not apply sealer or aggressive cleaners until grout has cured for at least 72 hours.
- Allow full cure of ±7 days before subjecting grout to harsh cleaning, wet environments, or heavy traffic.
Colour Choices & Care
- Select grout colour appropriate to tile type and usage area: Lighter colours may show stains more easily in high-traffic or exterior zones. Darker shades may fade with harsh cleaners or UV exposure if unprotected.
- Consistency starts with mixing: Always use the same water source and mixing ratio across batches to ensure even colour tone. Avoid remixing dried material or adding excess water during application.
- Protect grout during early cure: Exposure to water, frost, steam, or aggressive cleaning too soon may result in blotching, colour washout, or efflorescence.
- For enhanced colour stability: Use KWIKbond instead of water to reduce pigment washout, accelerate strength gain, and improve long-term stain resistance — especially important in wet areas and exteriors.